Oracle Apex 22.1 with ORDS installation on Windows Server
Oracle Application Express (APEX) is an enterprise low-code development platform from Oracle Corporation. APEX is used for developing and deploying cloud, mobile, and desktop applications.
Oracle Apex Installation Requirements
Before installing Oracle APEX in a on-premises (or local) installation you must verify your configuration meets the minimum installation requirements.
- Oracle Database Requirements
Oracle APEX release 22.1 requires an Oracle Database release 12.1.0.2 or later. Oracle APEX runs on all database editions, including Enterprise Edition (EE), Standard Edition (SE) and Express Edition (XE). Oracle APEX can be installed in single-instance database and in Oracle Real Application Clusters (Oracle RAC) database. - Browser Requirements
Oracle APEX requires a JavaScript-enabled browser and supports the current and prior major release of Google Chrome, Mozilla Firefox, Apple Safari, and Microsoft Edge. - Web Server Requirements
Oracle APEX requires Oracle REST Data Services (ORDS) 20.x or later.
- OS Windows Server
Below installation doc requires Oracle database and JDK is already installed and ready to use.
Below are the steps to install Oracle Application Express release 22.1.
Step 1 Download Apex
To download Oracle Application Express release 22.1, go to following link:
Step 2. Unzip in desired location
After downloading, you will get a zip file named something like – apex_22.1. Copy the file from the default download folder and paste it to the folder in which you want to install Oracle Apex 22.1, for example, I moved this file to C:\app\apex_22.1, and after extracting the file, I got the “apex” directory here. Now the complete path of my Oracle Apex installation is C:\app\apex_22.1.
Step 3. Open Terminal or CMD
Open the command prompt (CMD) on Windows or Terminal on Unix/Linux and changed the directory to the C:\app\apex_22.1 as follows:
On Windows:
cd C:\app\apex_22.1\apex
Step 4. Connect database
Now you need to run all the Oracle Apex installation scripts from this (C:\app\apex_22.1\apex) location. Start the SQL*PLUS with SYS user credentials to connect to the Oracle Database as shown in the following example:
C:\app\apex_22.1\apex> sqlplus /nolog
SQL*Plus: Release 19.0.0.0.0 – Production on Mon Nov 13 10:36:00 2023
Version 19.3.0.0.0
Copyright (c) 1982, 2019, Oracle. All rights reserved.
SQL> connect sys as sysdba
Enter password:
Connected.
Step 5. Select PDB Database
In Multitenant architecture, Oracle has a great option to create different databases for specific applications such as sales database, hr database. So installing apex in different PDB is good to maintain and you can install apex in different PDB databases. For that we can see what PDBs exist in the instance and need to alter session for that PDB using following commands.
SQL> show pdbs
CON_ID CON_NAME OPEN MODE RESTRICTED
———- —————————— ———- ———-
2 PDB$SEED READ ONLY NO
3 PDB1 READ WRITE NO
So now, PDB1 is selected to install Apex 22.
Step 6. Run apex installation Script
At first, we need to run apexins.sql passing the following four arguments in the order shown:
@apexins.sql tablespace_apex tablespace_files tablespace_temp images
For understanding:
- tablespace_apex is the name of the tablespace for the Oracle Application Express application user.
- tablespace_files is the name of the tablespace for the Oracle Application Express files user.
- tablespace_temp is the name of the temporary tablespace or tablespace group.
- images is the virtual directory for Oracle Application Express images. For installations using EPG, /i/ is the required value for the images argument. To support future Oracle Application Express upgrades, define the virtual image directory as /i/.
So now run this:
@apexins.sql SYSAUX SYSAUX TEMP /i/
it will create many files and finally shows the message as like:
# Actions in Phase 3:
#
ok 1 – BEGIN | 0.00
ok 2 – Updating DBA_REGISTRY | 0.00
ok 3 – Computing Pub Syn Dependents | 0.00
ok 4 – Upgrade Hot Metadata and Switch Schemas | 0.00
ok 5 – Removing Jobs | 0.02
ok 6 – Creating Public Synonyms | 0.00
ok 7 – Granting Public Synonyms | 0.05
ok 8 – Granting to FLOWS_FILES | 0.00
ok 9 – Creating FLOWS_FILES grants and synonyms | 0.00
ok 10 – Creating Jobs | 0.00
ok 11 – Creating Dev Jobs | 0.00
ok 12 – Installing FLOWS_FILES Objects | 0.00
ok 13 – Installing APEX$SESSION Context | 0.00
ok 14 – Recompiling APEX_220100 | 0.02
ok 15 – Installing APEX REST Config | 0.00
ok 16 – Set Loaded/Upgraded in Registry | 0.00
ok 17 – Removing Unused SYS Objects | 0.00
ok 18 – Validating Installation | 0.08
ok 3 – 18 actions passed, 0 actions failed | 0.17
Thank you for installing Oracle APEX 22.1.0
Oracle APEX is installed in the APEX_220100 schema.
The structure of the link to the Oracle APEX administration services is as follows:
http://host:port/ords/apex_admin
The structure of the link to the Oracle APEX development interface is as follows:
http://host:port/ords
timing for: Phase 3 (Switch)
Elapsed: 00:00:09.39
timing for: Complete Installation
Elapsed: 00:05:00.94
SYS>
Step 7. Set Admin Password
Now run the change password script for the ADMIN user as following and the password must follow the complexity rules
SYS> @apxchpwd.sql
…set_appun.sql
================================================================================
This script can be used to change the password of an Oracle APEX
instance administrator. If the user does not yet exist, a user record will be
created.
================================================================================
Enter the administrator’s username [ADMIN]
User “ADMIN” does not yet exist and will be created.
Enter ADMIN’s email [ADMIN] amiteshojha@live.com
Enter ADMIN’s password []
Created instance administrator ADMIN.
SYS>
Step 8. Unlock the APEX_PUBLIC_USER
Unlock the APEX_PUBLIC_USER account and specify the password. Don’t forget to connect to Oracle using SQL*PLUS if disconnected and make sure you are connected with PDB.
ALTER USER APEX_PUBLIC_USER ACCOUNT UNLOCK;
To change the password for the APEX_PUBLIC_USER account:
SYS> ALTER USER APEX_LISTENER IDENTIFIED BY Amit#12310 ACCOUNT UNLOCK;
SYS> ALTER USER APEX_PUBLIC_USER IDENTIFIED BY Amit#12310 ACCOUNT UNLOCK;
SYS> ALTER USER APEX_REST_PUBLIC_USER IDENTIFIED BY Amit#12310 ACCOUNT UNLOCK;
Step 9. Run Configure Apex RESTful Service Script
@apex_rest_config.sql
Enter a password for the APEX_LISTENER user []
Enter a password for the APEX_REST_PUBLIC_USER user []
…set_appun.sql
…setting session environment
…create APEX_LISTENER and APEX_REST_PUBLIC_USER users
…grants for APEX_LISTENER and ORDS_METADATA user
SYS>
Step 10. Exit and connect again sys as sysdba
alter pluggable database pdb$seed close;
alter pluggable database pdb$seed open read write;
Step 11. Installation, Configuration, and Development of Oracle Rest Data Service (ORDS)
- Unzip ords zip file in a folder “ords”. i.e C:\app\ords-setup
- Press Window+R to open run window.
- Type cmd and press enter.
- Go to ords folder i.e “C:\app\ords-setup”
- Create a ords config directory i.e C:\app\ords\config
- Type command as below and follow the steps as per below logs.
C:\app\ords-setup> java -jar ords.war –config C:\app\ords\config install
Warning: Support for executing: java -jar ords.war has been deprecated.
Please add ords to your PATH and use the ords command instead.
ORDS: Release 22.1 Production on Mon Nov 13 11:26:31 2023
Copyright (c) 2010, 2023, Oracle.
Configuration:
/C:/app/ords/config/
The configuration folder C:\app\ords\config does not contain any configuration files.
Oracle REST Data Services – Interactive Install
Enter a number to select the type of installation
[1] Install or upgrade ORDS in the database only
[2] Create or update a database pool and install/upgrade ORDS in the database
[3] Create or update a database pool only
Choose [2]:
Enter a number to select the database connection type to use
[1] Basic (host name, port, service name)
[2] TNS (TNS alias, TNS directory)
[3] Custom database URL
Choose [1]:
Enter the database host name [localhost]:
Enter the database listen port [1521]:
Enter the database service name [orcl]: pdb1
Provide database user name with administrator privileges.
Enter the administrator username: sys
Enter the database password for SYS AS SYSDBA:
Connecting to database user: SYS AS SYSDBA url: jdbc:oracle:thin:@//localhost:1521/pdb1
Retrieving information.
Enter the default tablespace for ORDS_METADATA and ORDS_PUBLIC_USER [SYSAUX]:
Enter the temporary tablespace for ORDS_METADATA and ORDS_PUBLIC_USER [TEMP]:
Enter a number to select additional feature(s) to enable:
[1] Database Actions (Enables all features)
[2] REST Enabled SQL and Database API
[3] REST Enabled SQL
[4] Database API
[5] None
Choose [1]:
Enter a number to configure and start ORDS in standalone mode
[1] Configure and start ORDS in standalone mode
[2] Skip
Choose [1]:
Enter a number to use HTTP or HTTPS protocol
[1] HTTP
[2] HTTPS
Choose [1]: 1
Enter the HTTP port [8080]:
Enter the APEX static resources location: C:\app\apex_22.1\apex\images
The setting named: db.connectionType was set to: basic in configuration: default
The setting named: db.hostname was set to: localhost in configuration: default
The setting named: db.port was set to: 1521 in configuration: default
The setting named: db.servicename was set to: pdb1 in configuration: default
The setting named: plsql.gateway.mode was set to: proxied in configuration: default
The setting named: db.username was set to: ORDS_PUBLIC_USER in configuration: default
The setting named: db.password was set to: ****** in configuration: default
The setting named: feature.sdw was set to: true in configuration: default
The global setting named: database.api.enabled was set to: true
The setting named: restEnabledSql.active was set to: true in configuration: default
The setting named: security.requestValidationFunction was set to: wwv_flow_epg_include_modules.authorize in configuration: default
The global setting named: standalone.http.port was set to: 8080
The global setting named: standalone.static.path was set to: /C:\app\apex_22.1\apex/images/
The global setting named: standalone.static.context.path was set to: /i
The global setting named: standalone.context.path was set to: /ords
The global setting named: standalone.doc.root was set to: C:\app\ords\config\global\doc_root
2023-11-13T11:32:22.115Z INFO Installing Oracle REST Data Services version 22.1.0.r1051723 in PDB1
————————————————————
Date : 13 Nov 2023 11:32:22
Release : Oracle REST Data Services 22.1.0.r1051723
Type : ORDS Install
Database : Oracle Database 19c Enterprise Edition
DB Version : 19.3.0.0.0
————————————————————
Container Name: PDB1
Executing scripts for core
————————————————————
[*** script: ords_prereq_env.sql]
…
..
.
.
.
.
.
….
Commit complete.
2023-11-13T11:32:39.322Z INFO Completed installation for Oracle REST Data Services version 22.1.0.r1051723. Elapsed time: 00:00:17.141
[*** Info: Completed installation for Oracle REST Data Services version 22.1.0.r1051723. Elapsed time: 00:00:17.141
]
————————————————————
Container Name: PDB1
————————————————————
[*** script: ords_configure_gateway.sql]
Configured PL/SQL Gateway user APEX_PUBLIC_USER to be proxiable from
ORDS_PUBLIC_USER
PL/SQL procedure successfully completed.
2023-11-13T11:32:39.387Z INFO Completed configuring PL/SQL gateway user for Oracle REST Data Services version 22.1.0.r1051723. Elapsed time: 00:00:00.64
[*** Info: Completed configuring PL/SQL gateway user for Oracle REST Data Services version 22.1.0.r1051723. Elapsed time: 00:00:00.64
]
2023-11-13T11:32:39.510Z INFO HTTP and HTTP/2 cleartext listening on host: 0.0.0.0 port: 8080
2023-11-13T11:32:39.533Z INFO Disabling document root because the specified folder does not exist: C:\app\ords\config\global\doc_root
2023-11-13T11:32:49.950Z INFO Configuration properties for: |default|lo|
db.servicename=pdb1
standalone.context.path=/ords
db.hostname=localhost
db.password=******
conf.use.wallet=true
security.requestValidationFunction=wwv_flow_epg_include_modules.authorize
standalone.static.context.path=/i
database.api.enabled=true
db.username=ORDS_PUBLIC_USER
standalone.http.port=8080
standalone.static.path=/C:\app\apex_22.1\apex/images/
restEnabledSql.active=true
resource.templates.enabled=false
plsql.gateway.mode=proxied
db.port=1521
feature.sdw=true
config.required=true
db.connectionType=basic
standalone.doc.root=C:\app\ords\config\global\doc_root
2023-11-13T11:32:49.956Z WARNING *** jdbc.MaxLimit in configuration |default|lo| is using a value of 10, this setting may not be sized adequately for a production environment ***
2023-11-13T11:32:49.958Z WARNING *** jdbc.InitialLimit in configuration |default|lo| is using a value of 3, this setting may not be sized adequately for a production environment ***
2023-11-13T11:33:02.947Z INFO Oracle REST Data Services initialized
Oracle REST Data Services version : 22.1.0.r1051723
Oracle REST Data Services server info: jetty/9.4.44.v20210927
Oracle REST Data Services java info: Java HotSpot(TM) 64-Bit Server VM 21.0.1+12-LTS-29
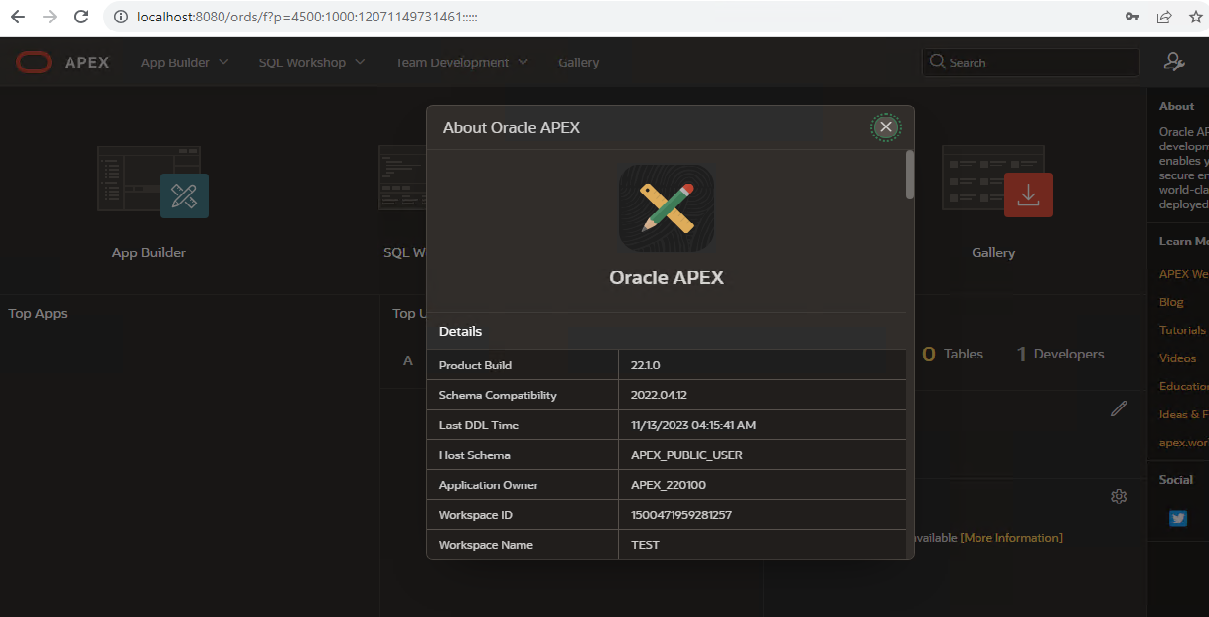
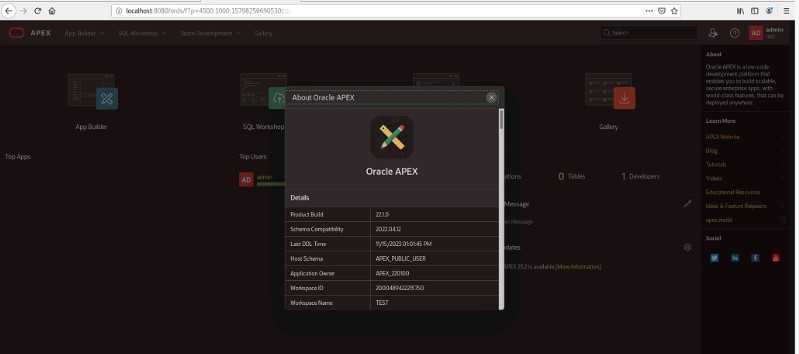
Now go to browser and open the apex as per credentials provided during the installation.

Once logged in, Your Playground with Apex server is ready to play.